Push through a painted window
A house in the distance, a lit window, a writer at her desk. Build one continuous camera move through three sets of flat paintings.
What you’ll make
- One 12-second shot at 30 fps. The foreground passes the lens, the window fills the frame and the room takes over.
- Three groups of transparent images: the exterior, a close view of the window and the room. Paint extra background behind anything the camera will reveal.
- A WebGPU-capable browser. The film uses 3D image layers and a two-node camera; the pictures themselves remain flat.
1. Prepare the three views
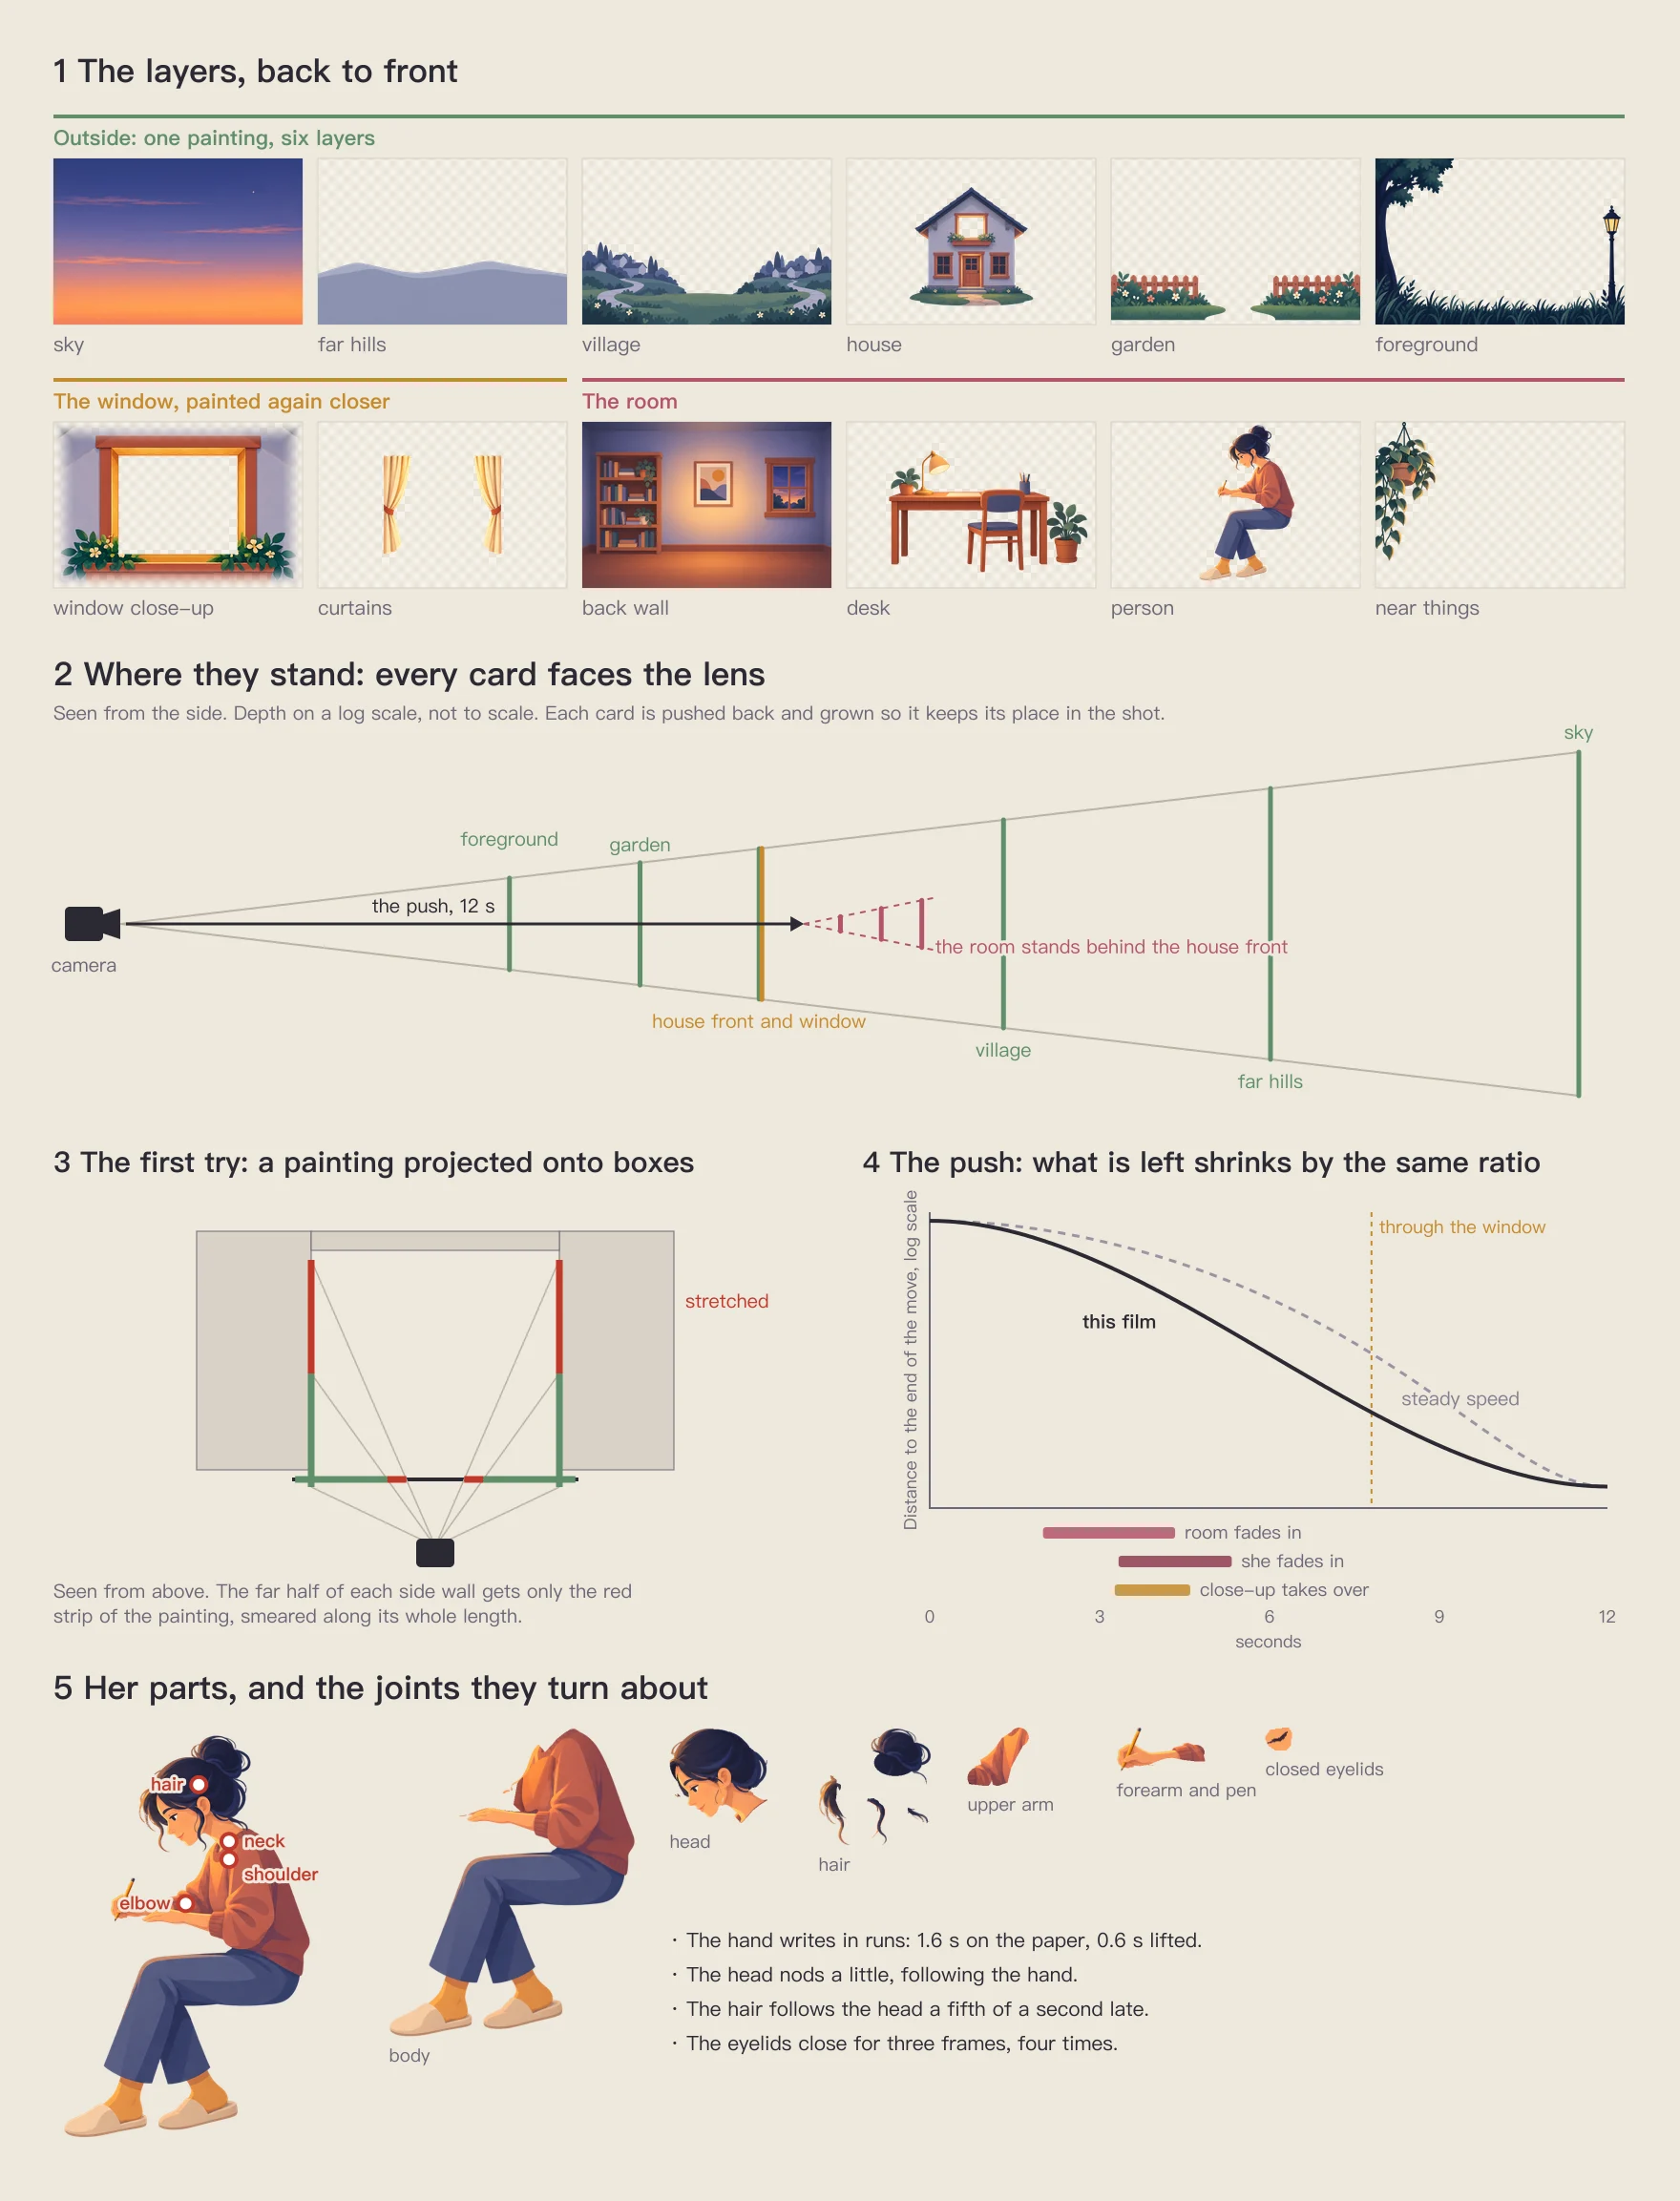
Make an exterior with separate sky, hills, village, house, garden and foreground. Keep the window opening transparent; a painted bright rectangle would block the room.
Prepare a close-up wall and curtains around the same opening, then a room with separate back wall, desk, person and foreground. Keep each group aligned on a shared canvas.
Import the folders through Importing assets (opens in a new tab). Review placement and order against a composite reference before animating.
2. Give the paintings depth
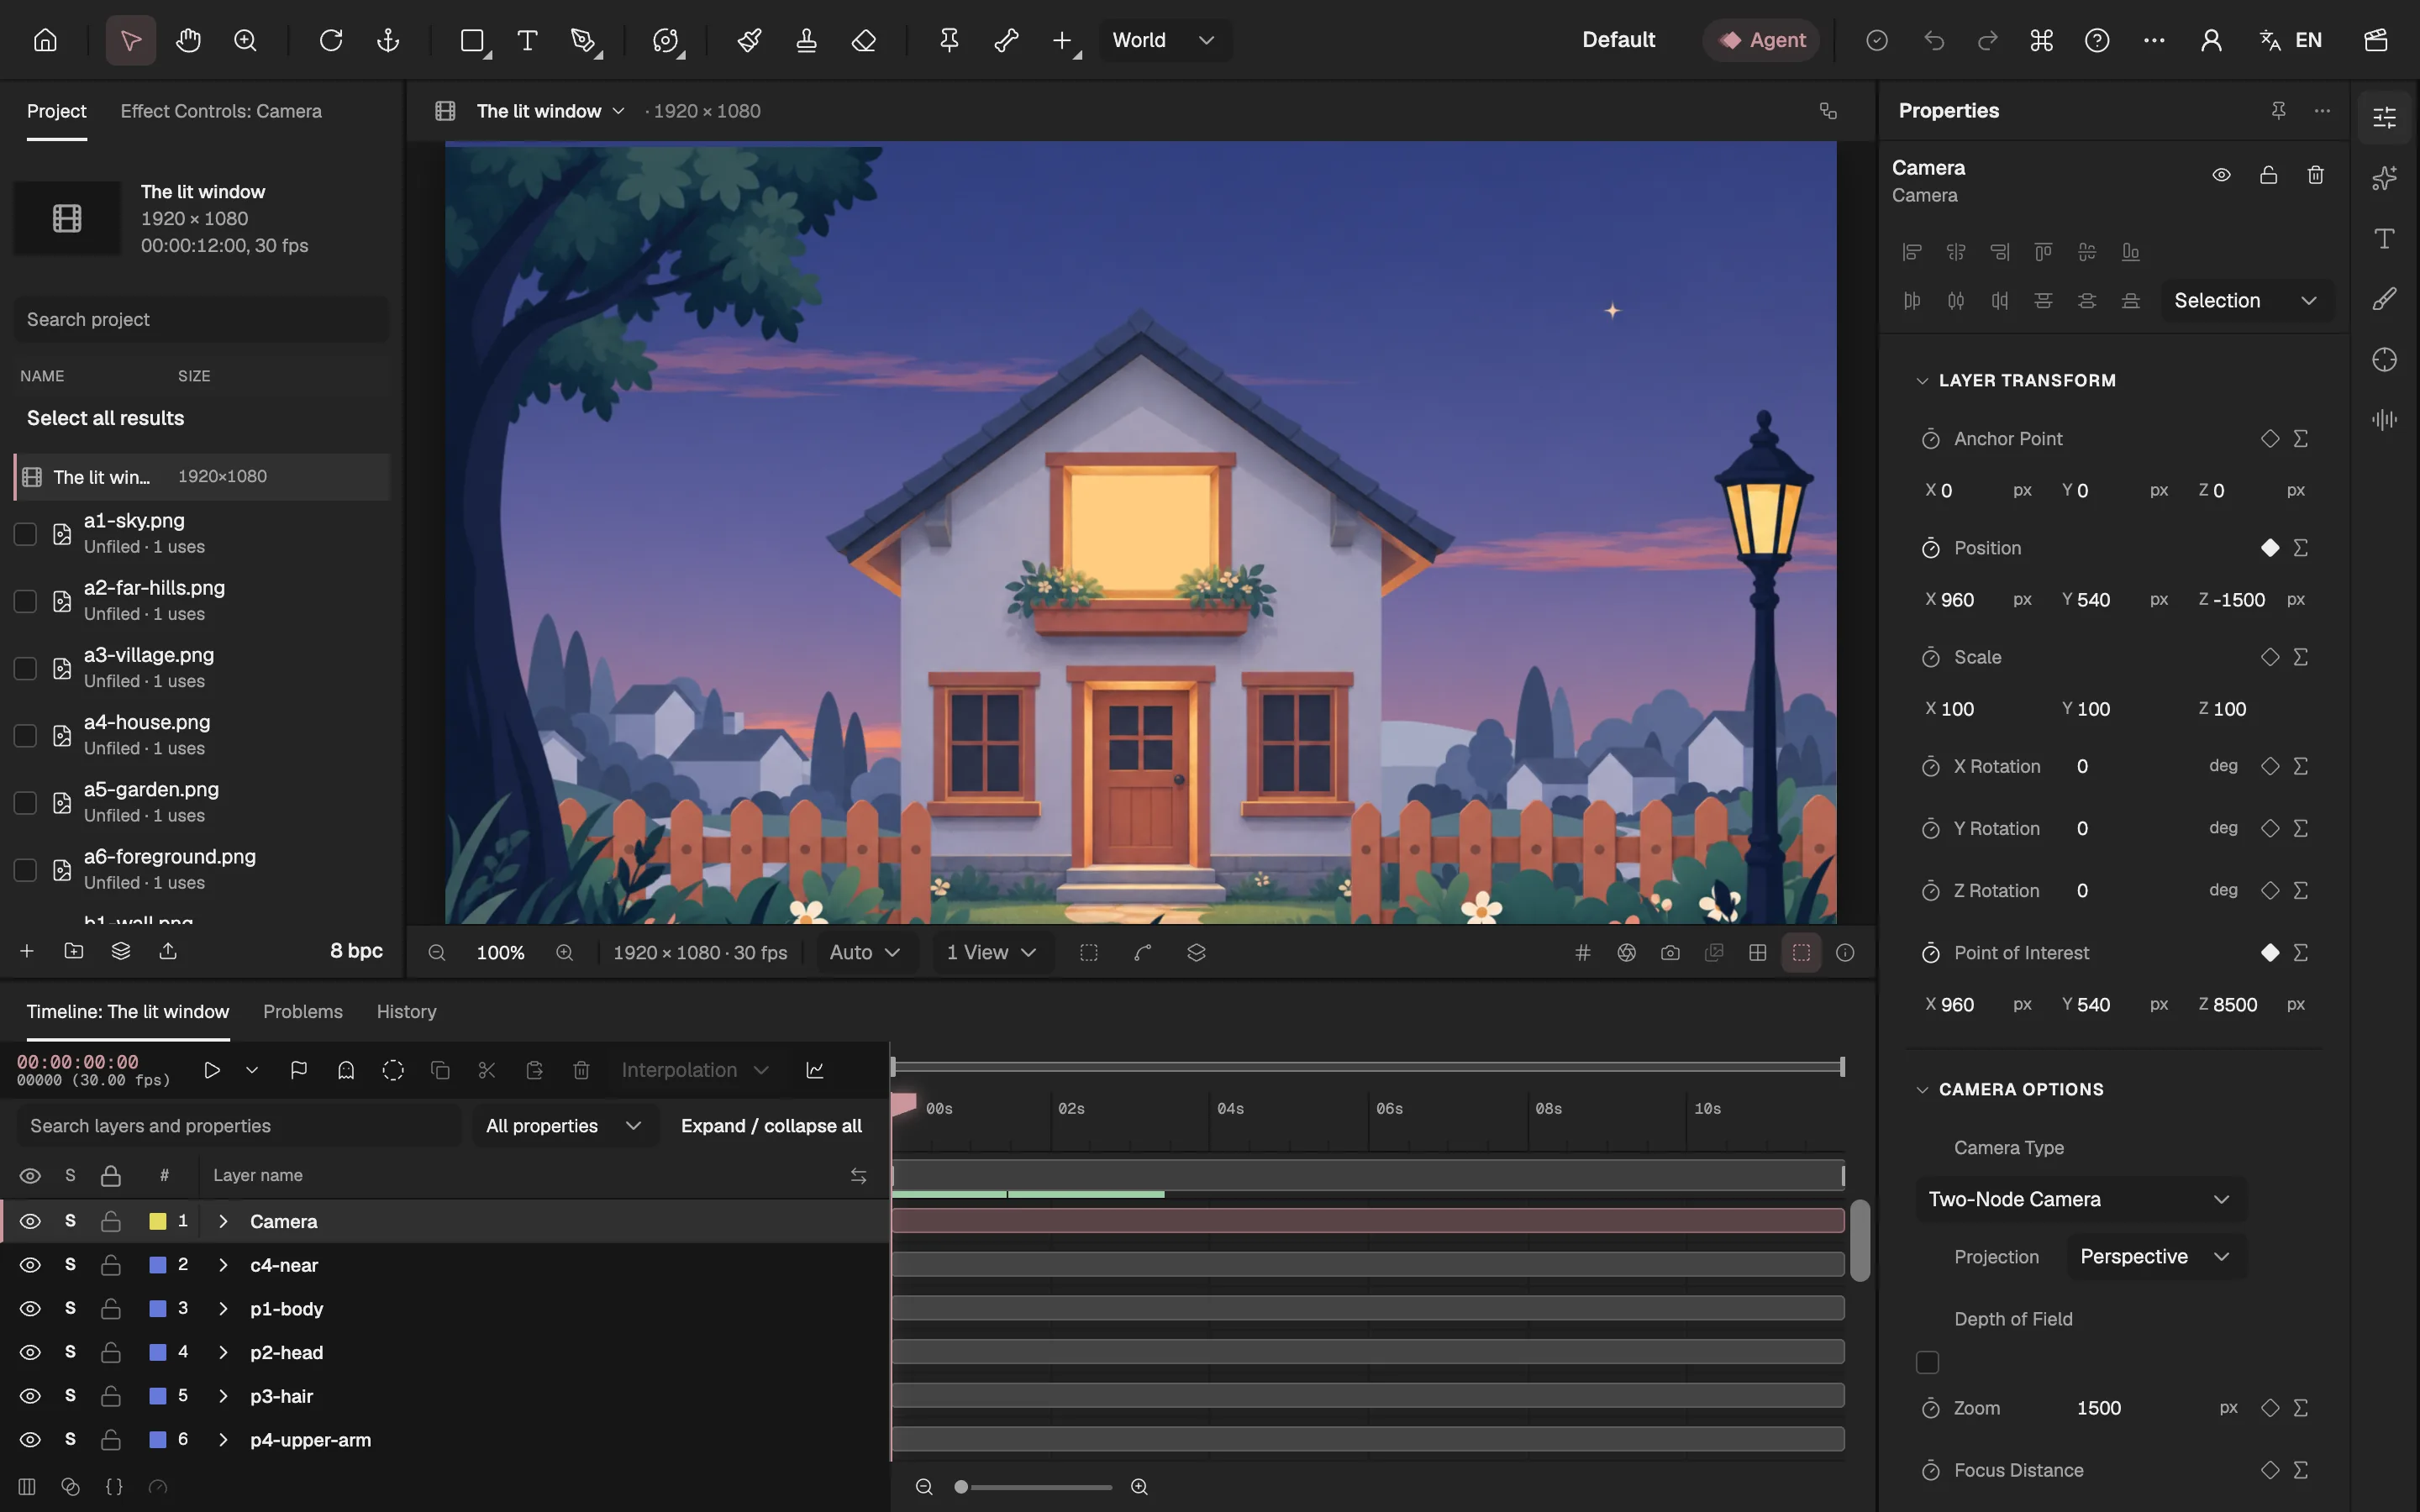
Create a two-node camera in a 1920 × 1080 composition. For this shot, its starting Position is (960, 540, −1500), looking along +Z, with Zoom 1500.
Make the image layers 3D and set their automatic orientation to face the camera. Frame the exterior at the start, then use the depth move that preserves its framing to separate near and far planes. See 3D layers and cameras (opens in a new tab).
Keep the sky furthest away, then hills, village, house, garden and foreground. Preview a short camera move: nearby paintings should travel faster than distant ones, without opening gaps.
3. Match the window and the room
Centre the camera’s path on the exterior window. Align the opening in the close-up wall to the same screen position; place it just in front of the house plane.
Frame the room at the end of the shot. The desk and the seated person need almost the same depth, so they stay together as the lens approaches.
Scrub the approach slowly. Mask the room to the house outline while it is distant, then open that mask once the house covers the frame. Use Masks (opens in a new tab) to hide overspill.
- The layers and the window handoff
4. Animate the push
Animate camera Position from the starting view to a point inside the room. Keep its point of interest ahead of it on the same line, so this is a push rather than a turn.
Start with a few keys to check the route. Refine the spacing so the remaining distance shrinks steadily: a long push at constant world speed appears to rush at the end. Use the Graph Editor (opens in a new tab) to judge screen speed.
Check the beginning, the window handoff and the final framing. This film travels straight into the opening; a large sideways orbit would reveal the flat paintings.
5. Hide the handoffs
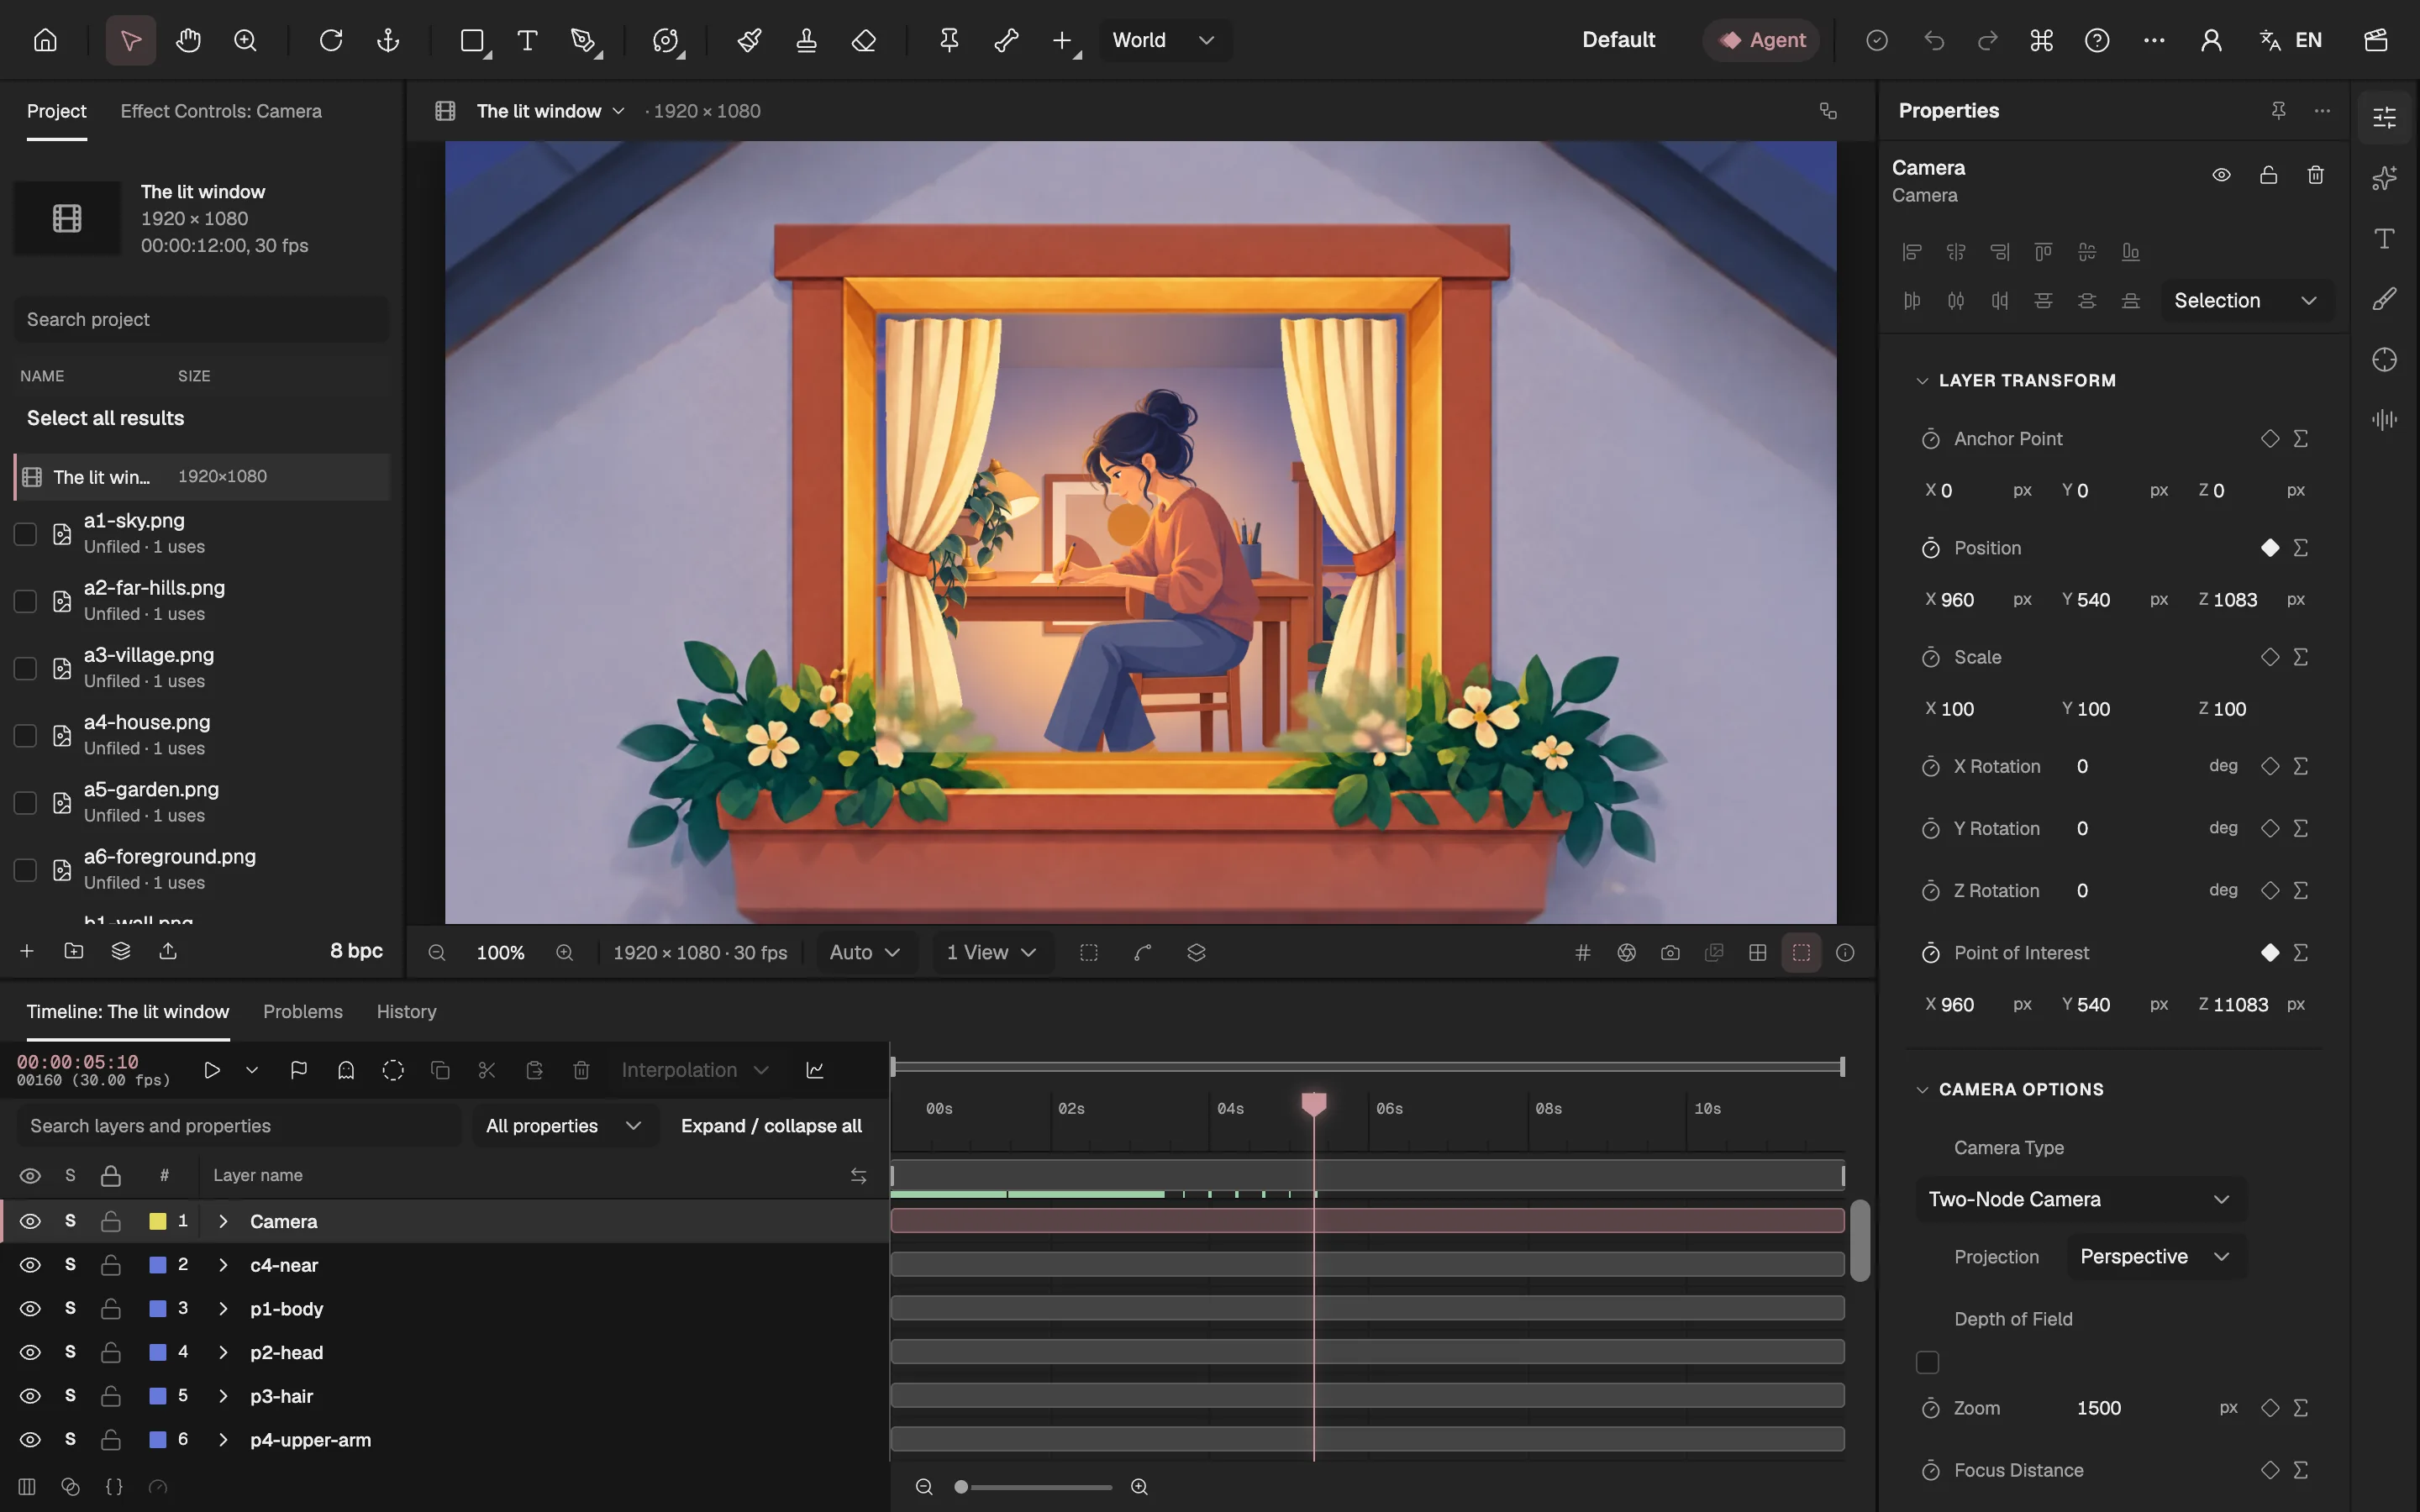
Let the close-up wall take over while the window grows. Fade it in only when its opening matches the distant window; keep the original house behind it.
Fade the room in over the window’s glow, then the person. In this film the room fades in over frames 60–130 and the person over 100–160.
Fade each foreground plane out before the camera crosses it. Check the corners and curtain edges frame by frame: no full-screen flash, exposed cut edge or sudden scale change should remain.
6. Add a quiet action and export
Give the figure small movements only after the camera shot works: a writing hand, a little head movement and occasional blinks. Overlap painted joints so the motion does not reveal holes.
Play the whole shot at speed, then inspect the window crossing paused. A soft preview can hide seams that appear in the exported frame.
Export the 0–359 frame range through Export video or images. Use Export (opens in a new tab) for format and quality settings; check the first frame, window transition and last frame in the rendered file.
Keep exploring
- Read the reasoning behind the window handoff and the limits of this camera move. A push through a lit window
- Try a different use of layered paintings: turn summer into autumn with colour curves. Animate a summer-to-autumn colour change