Compositions
Previewing
Previewing plays the work area in the Viewer. Each frame is rendered the first time it plays and kept in memory, so later passes play in real time. Preview settings are kept in this browser: they never change the project or an export.
Play the work area
Press Space anywhere outside a text field, or select Play Work Area in the Timeline. Playback starts at the current time if it is inside the work area, otherwise at its start.
Watch the first pass. A frame that is not rendered yet holds playback until it is, so the first pass can run slower than real time. A green line along the bottom of the work area bar marks the frames already in memory.
Let it loop. Once every frame of the work area is in memory, playback runs at the composition’s frame rate, and audio layers are heard.
Press Space again to stop.
An edit can change what some frames look like. While the editor is idle, it checks the frames it kept against the edited project and keeps the ones that did not change.
Preview options
The arrow beside Play Work Area opens Preview options:
- First Frame, Previous Frame, Next Frame and Last Frame step through the composition, with Play between them.
- Loop repeats the work area; with it off, playback stops at its end.
- Skip shows only every second, third or later frame at the same speed, up to 10 frames skipped, so a heavy composition keeps up.
- Cache Before Playback renders every frame to be shown first, then plays from the start of the work area.

- Plays the work area.
- Opens Preview options.
- Repeat, or stop at the end.
- Render everything first.
- The work area: what plays.
- Frames already in memory.
The work area
The work area is the part of the composition that previews play: the bar under the time ruler. Drag its ends to change it, or type Work Area start and Work Area end (exclusive) under Advanced in Composition settings; the end frame itself is not played.
The work area is saved with the composition, and changing it is a step you can undo. While it covers the whole composition, changing the composition’s length in its settings moves its end too.
Resolution and region of interest
Resolution on the bar under the Viewer renders the preview with fewer pixels, so it keeps up: Full, Half, Third, and Quarter. Auto follows the Viewer’s magnification. Exports always render every pixel.
Region of interest renders only part of the picture: turn it on and drag a rectangle over the Viewer. Turning it off clears it.
Frames are kept in memory for each resolution and region separately, so changing either starts filling memory again.
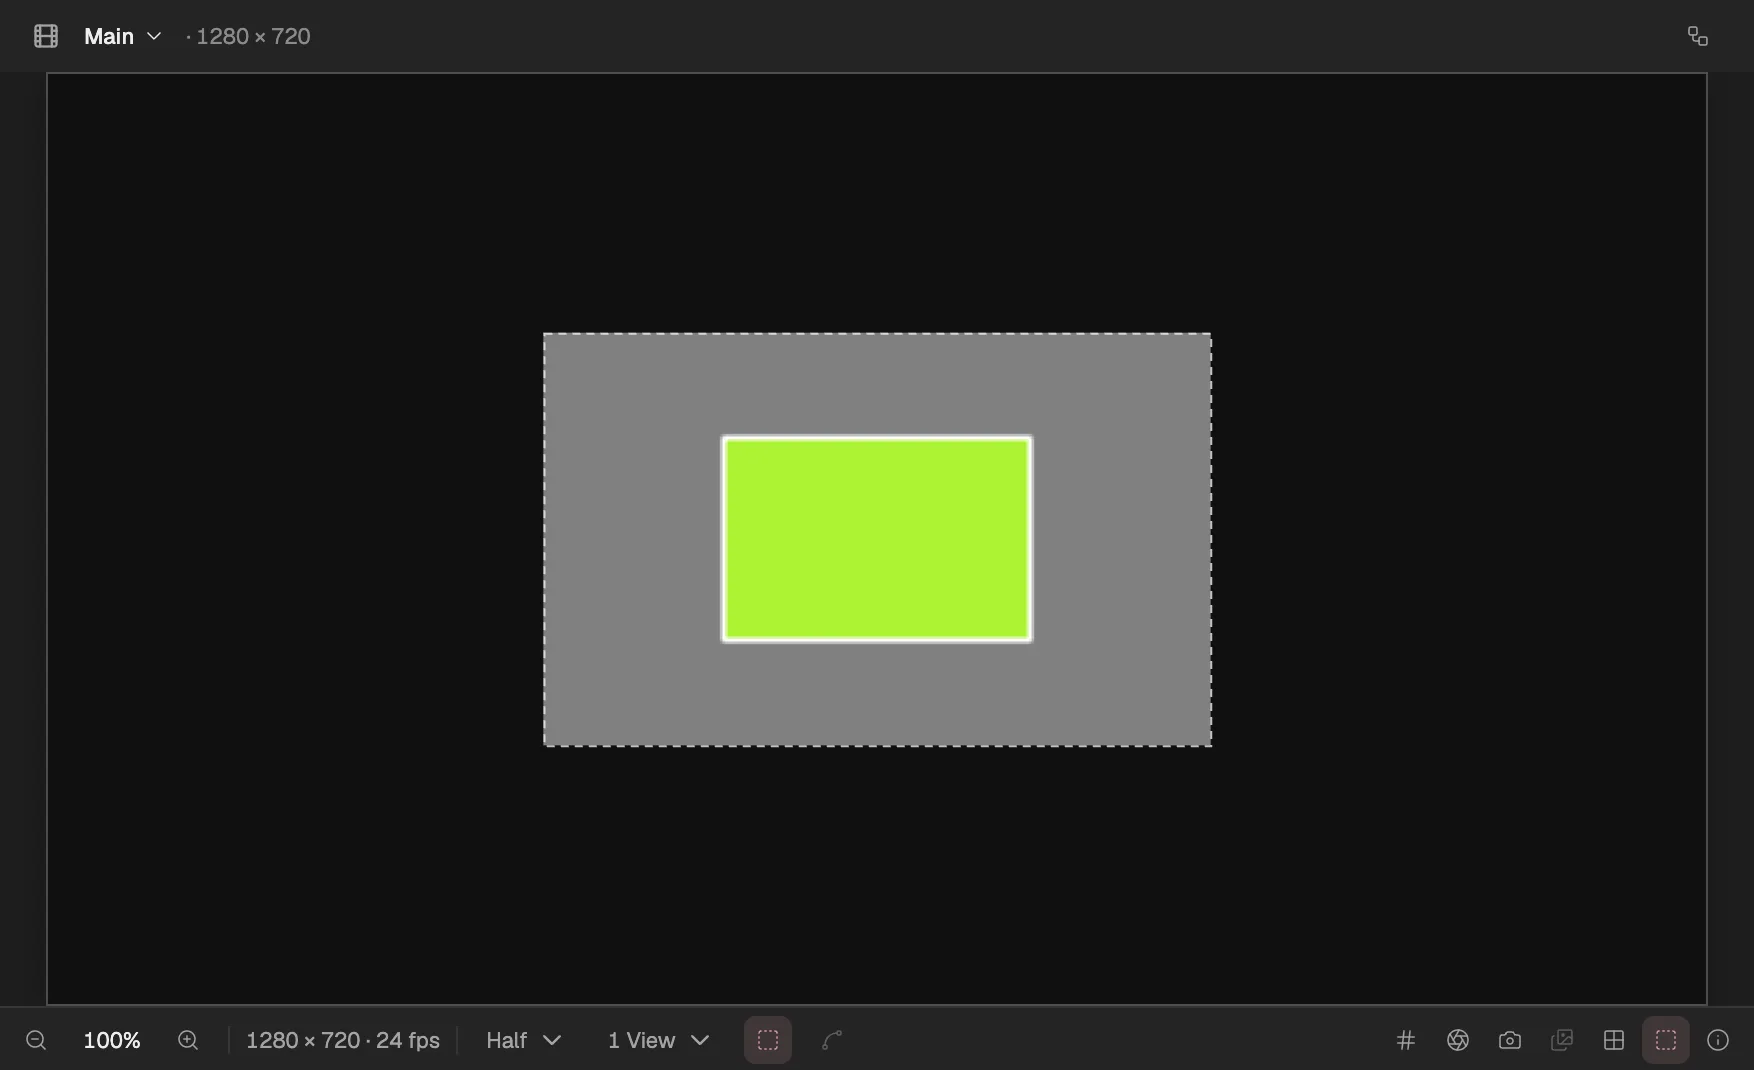
- How many pixels the preview renders.
- Turns the region of interest on or off.
- Only this part is rendered.
- Show one channel.
- Keep the picture to compare.
Check the picture
- Show Channel shows RGB, Red, Green, Blue, and Alpha: one colour channel, or the alpha, as grey.
- Take Snapshot keeps the Viewer’s current picture. Hold Show Snapshot to see it over the Viewer and compare it with a change.
- The transparency grid (Show transparency grid) shows see-through parts of the picture as a checkerboard.
- These change only the Viewer, never the project or an export. The Viewer’s other aids, such as rulers, grids and safe margins, are in The workspace (opens in a new tab).
When a preview is slow
- Lower the Resolution, or draw a Region of interest round the part you are working on.
- Shorten the work area to the stretch you are working on.
- Use Skip to see the motion at full speed with fewer frames.
- For heavy footage, Create Proxy (half size) in the footage’s menu in the Project panel makes a smaller copy for the Viewer; exports still use the original. See Proxies (opens in a new tab).